Search our catalog

    We also offer custom consulting and training services for commercial, digital, flexo, web, and grand format printing markets.

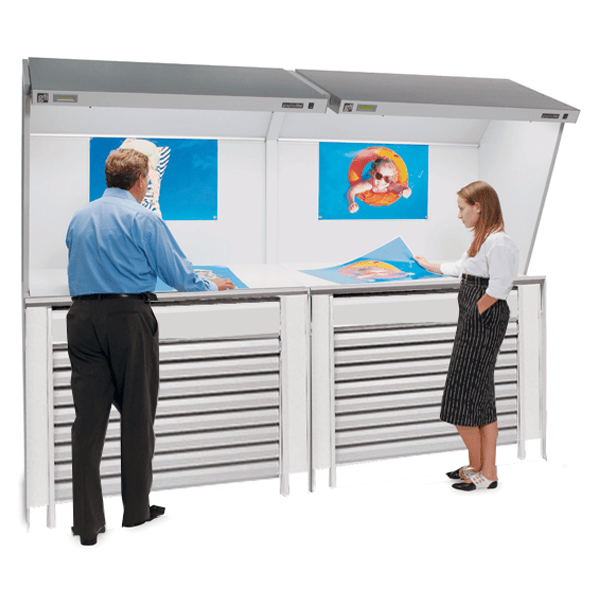
    Lighting

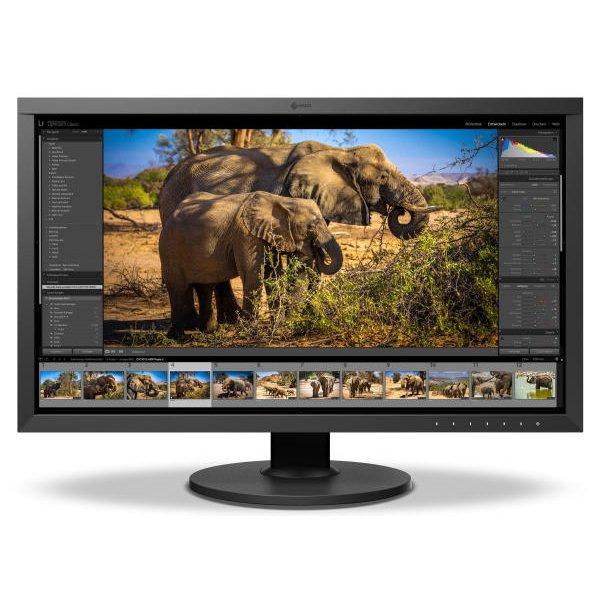
    Monitors

    Spectrophotometers

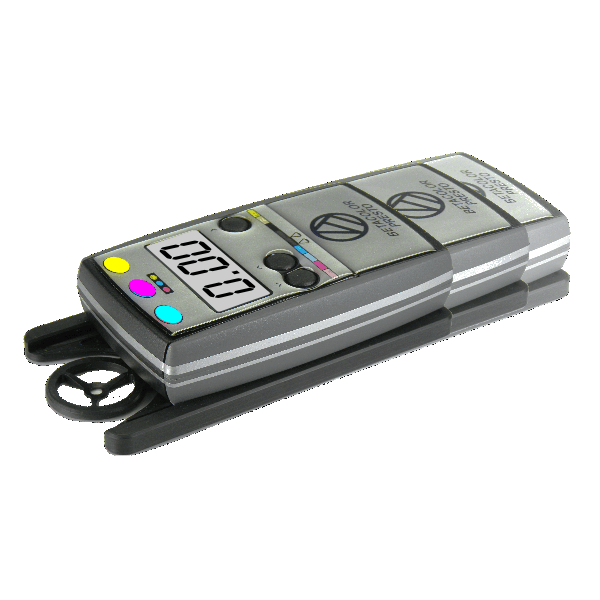
    Densitometers

    Color Communication

    All the hardware you need to ensure the quality of your color

    All the software you need to ensure the quality of your color

    Konica Minolta

    CM-23d

    CM-23d Portable Spectrophotometer

    • CM-23d Portable Spectrophotometer

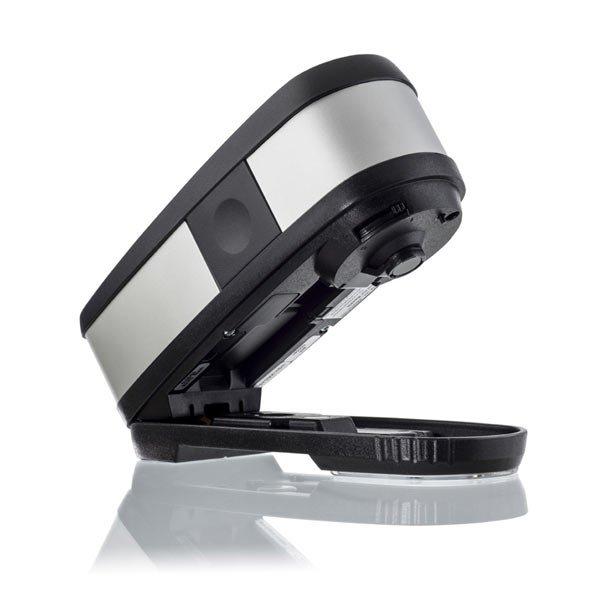
      The CM-23d is a portable sphere type spectrophotometer with horizontal alignment, ideal for measuring the color of flat or large samples. It offers the convenience of delivering measurement data with both specular-included (SCI) and specular-excluded (SCE) surface conditions in a single measurement sequence.The instrument is designed for ease of use, accommodating both left- and right-handed users through its modern user interface. It incorporates a built-in sample observation port that allows precise positioning of the measurement aperture on the sample for accurate readings every time. Additionally, the CM-23d features a large built-in display that can present measurement data in numerical or graphical formats, enhancing the user's ability to interpret the results effectively.
      Accuracy
      Precision and Accuracy

      Time per measurement: 0.7 sec; Shortest interval between measurements: 1.5 sec (Normal measurement mode) When taking averaged measurements, the automatic averaging function further reduces the interval between measurements.

      Measurement Area and Design

      The instrument has an Ø8mm measurement area and is designed to minimize subject damage, providing repeatable results. The instrument surfaces that come in contact with the measurement subject are comfortable for both right-handed and left-handed users.

      TouchScreen
      Dimention
      Ergonomic Design and Features

      Compact, lightweight and ergonomically designed to get at and measure hard-to-reach targets. Equipped with a viewfinder to facilitate positioning and alignment.
      Simplified operation Includes a Simple Mode that can measure color differences between samples and a target color by just switching on the power and operating 3 buttons. A 2.7-inch display makes measurement results easy to read.

      Job Function

      The new Job function allows for graphical representation/instructions for routine color measurements to be made within specific processes. This feature, combined with a reduced measurement time, allows users of all levels to maintain high levels of productivity, accuracy, and consistency.

      Measurement time
      CT1
      CM-CT1 Configuration Tool

      The Konica Minolta spectrophotometers comes with the CM-CT1 Configuration Tool software, which allows users to create and write instrument settings and compile them into a file to share within its supply chain to ensure consistent instrument settings.

      Konica Minolta Model Comparision

      The CM-26dG Series from Konica Minolta offers three variations of advanced portable spectrophotometers. The high-end CM-26dG and CM-26d models bring the industry's highest level of accuracy, with the CM-26dG capable of simultaneously measuring color and gloss, and the CM-26d specifically for measuring color. The lineup is rounded out with the high cost-performance model, the CM-25d.

      The main distinctions between CM-26d and CM-25d are that the 26d offers a replaceable target mask (which permits reading SAV at 3mm), incorporates UV, and has better accuracy and reproducibility (although only slightly). The software enables you to configure and synchronize multiple units across various locations or plants.

      Feature CM-26dG CM-26d CM-25d CM-23d
      Light source Pulsed xenon lamp ×2 Pulsed xenon lamp ×2 Pulsed xenon lamp ×1 Pulsed xenon lamp ×1
      Detector Dual 40-element silicon photodiode arrays Dual 40-element silicon photodiode arrays Dual 32-element silicon photodiode arrays Dual 32-element silicon photodiode arrays
      Measurement wavelength range 360 to 740 nm 360 to 740 nm 400 to 700 nm 400 to 700 nm
      Measurement area MAV: Ø8 mm, SAV: Ø3 mm MAV: Ø8 mm, SAV: Ø3 mm MAV : Ø8 mm MAV : Ø8 mm
      Illumination area 12 × 12.5 mm (circle + ellipse) MAV : Ø12 mm SAV : Ø6 mm MAV : Ø12 mm MAV : Ø12 mm
      Repeatability Standard deviation within ΔE*ab 0.02 Standard deviation within ΔE*ab 0.02 Standard deviation within ΔE*ab 0.04 Standard deviation within ΔE*ab 0.08
      (When a white calibration plate is measured 30 times at 5-second intervals after white calibration)
      Inter-instrument agreement Within ΔE*ab 0.12 Within ΔE*ab 0.12 Within ΔE*ab 0.20 Within ΔE*ab 0.40
      (Based on average for 12 BCRA Series II color tiles; MAV SCI; compared to values measured with a master body under KONICA MINOLTA standard measurement conditions)
      UV 100% / 0% selectable 100% / 0% selectable 0% only 0% only; 400nm UV cutoff filter
      Illuminant A, C, D50, D65, F2, F6, F7, F8, F10, F11, F12, ID50, ID65, User-defined illuminant* 1 (Simultaneous evaluation with two light sources possible)
      Indexes MI, WI (ASTM E313-73), YI (ASTM E313-73, ASTM D1925), ISO brightness (ISO 2470), WI/Tint (CIE), Strength, Opacity, Grey scale, User index *1 MI, WI (ASTM E313-73), YI (ASTM E313-73, ASTM D1925), ISO brightness (ISO 2470), WI/Tint (CIE), Strength, Opacity, Grey scale, 8° gloss value, User index * MI, WI (ASTM E313-73), YI (ASTM E313-73, ASTM D1925), ISO brightness (ISO 2470), WI/Tint (CIE), Strength, Opacity, Grey scale, 8° gloss value, User index * MI, W (I ASTM E313-73), YI (ASTM D1925), Opacity,
      Color difference equations ΔE*ab (CIE1976) / ΔE94 (CIE1994) / ΔE00 (CIE2000) / CMC (l:c) / Hunter ΔE / DIN99o ΔE*ab (CIE1976) / ΔE94 (CIE1994) / ΔE00 (CIE2000) / CMC (l:c) / Hunter ΔE / DIN99o ΔE*ab (CIE1976) / ΔE94 (CIE1994) / ΔE00 (CIE2000) / CMC (l:c) / Hunter ΔE / DIN99o ΔE*ab (CIE1976) / ΔE94 (CIE1994) / ΔE00 (CIE2000) / CMC (l:c)
      Applicable standards DIN 5033 Teil 7, JIS Z 8722 Condition “c”, ISO 7724/1, CIE No.15 DIN 5033 Teil 7, JIS Z 8722 Condition “c”, ISO 7724/1, CIE No.15 DIN 5033 Teil 7, JIS Z 8722 Condition “c”, ISO 7724/1, CIE No.15 ISO 7724/1, CIE No.15, DIN 5033 Teil 7, JIS Z 8722 Condition “c”
      Measurement time Approx. 1 sec. (Measurement mode: SCI + Gloss or SCE + Gloss) Approx. 0.7 s (Measurement mode: SCI or SCE) Approx. 0.7 s (Measurement mode: SCI or SCE) Approx. 0.7 s (Measurement mode: SCI or SCE)
      (From pressing trigger button to measurement completion)
      Minimum measurement interval Approx. 2 s (Measurement mode: SCI or SCE) Approx. 1.5 s (Measurement mode: SCI or SCE) Approx. 1.5 s (Measurement mode: SCI or SCE) Approx. 1.5 s (Measurement mode: SCI or SCE)
      Data memory 1,000 target data + 5,100 sample data 1,000 target data + 5,100 sample data 1,000 target data + 5,100 sample data 1,000 target data + 1,700 sample data
      Battery performance Measurement mode: SCI + Gloss or SCE + Gloss Measurement mode: SCI or SCE Measurement mode: SCI or SCE Measurement mode: SCI or SCE
      Approx. 3,000 measurements (approx. 1,000 measurements when using Bluetooth) when measurements are taken at 10-second intervals at 23°C with the dedicated lithium battery
      Weight Approx. 660 g Approx. 630 g Approx. 620 g Approx. 620 g

    Customer Reviews

    Be the first to write a review
    0%
    (0)
    0%
    (0)
    0%
    (0)
    0%
    (0)
    0%
    (0)
    20
    Verified Reviews